Flat pack instruction
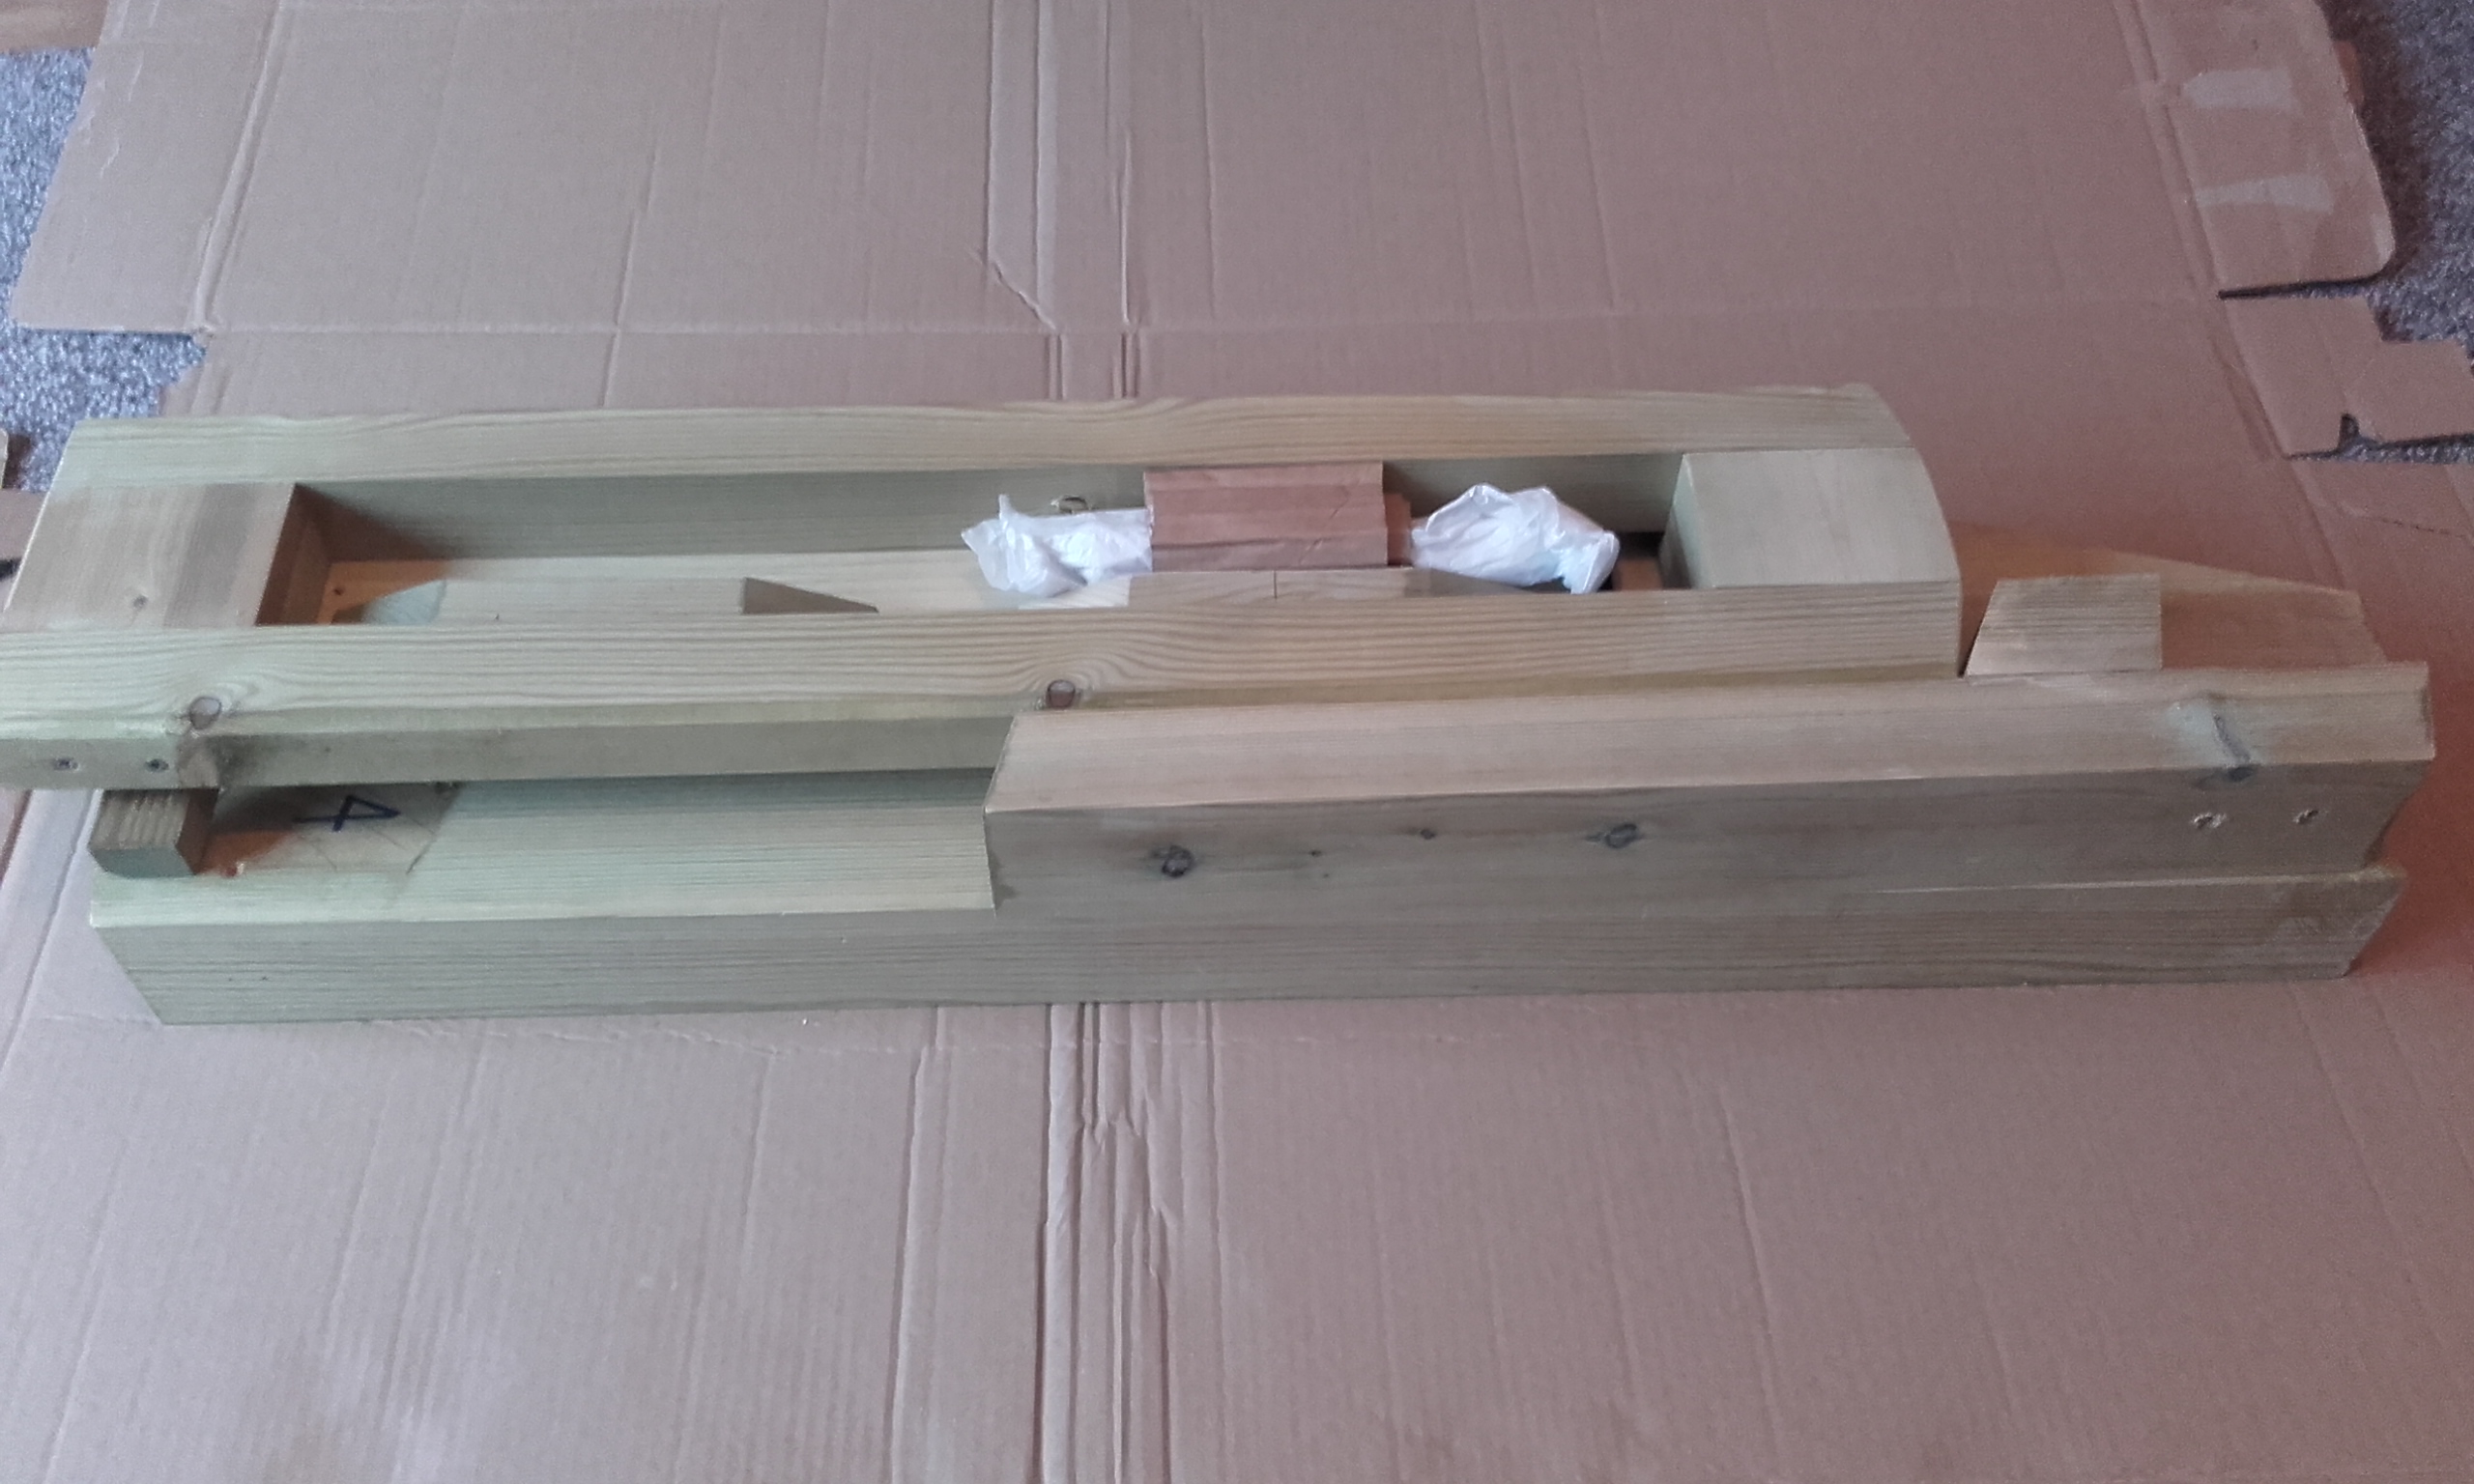
Each shave horse has been fully made and tested to ensure all the parts are easily re-assembled, you will need some wood glue (P.V.A) and a phillips screwdriver, your pack will include;
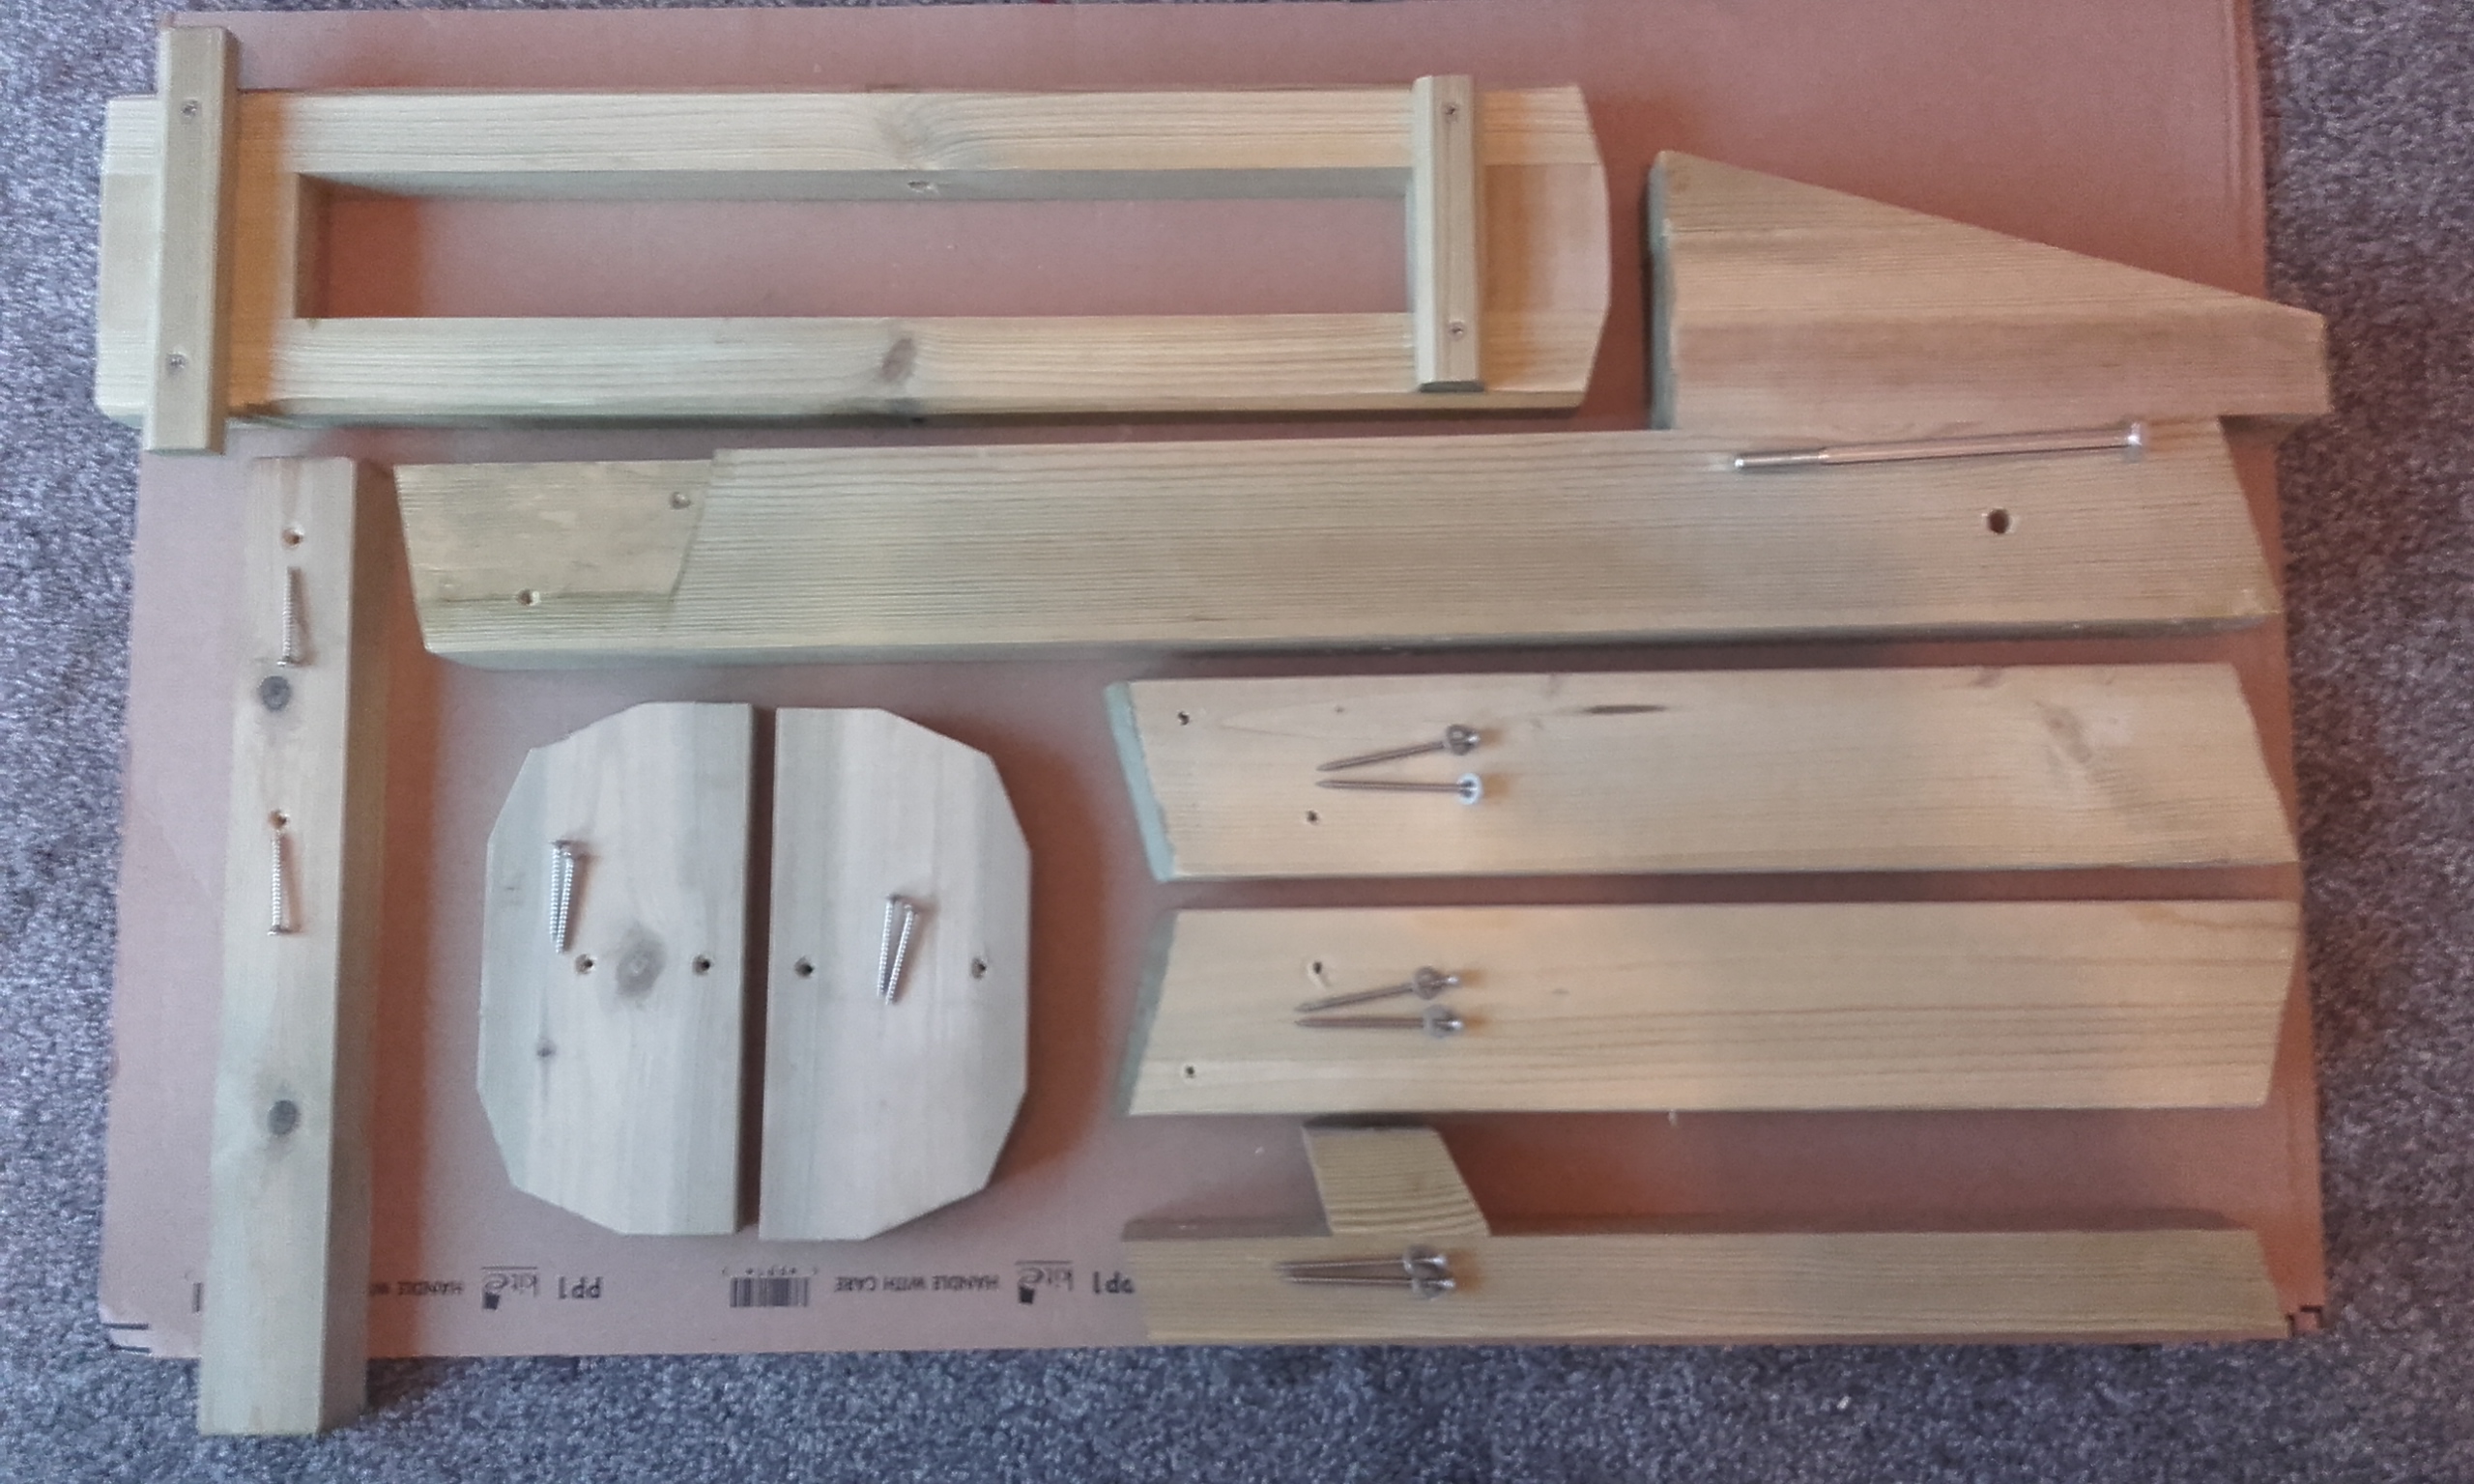
- 7 parts and a main body
- 6 small screws for the seat and the top,
- 6 large screws for the legs
- 1 large bolt, washer and nut for the vice .
All the holes for the screws are pre-drilled, each part has a number, each part lines up with the same number on the body.
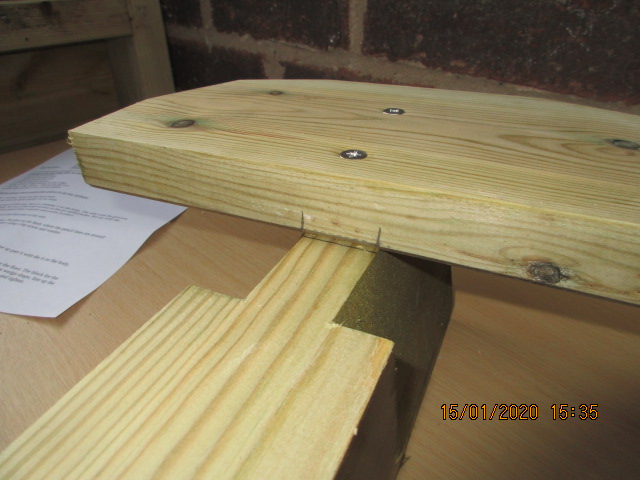
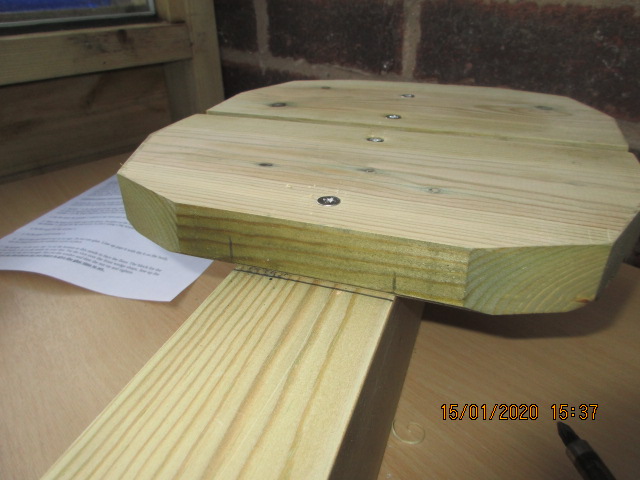
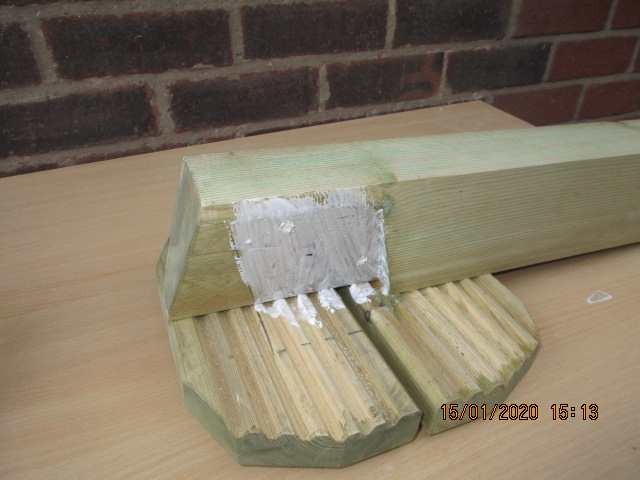
- 1. Number 1 is the back part of the seat, there is a number 1 on the body. The side with the grooves on must be against the body. Put two of the small screws in the pre drilled holes, line up with the number 1 on the body (there are pencil lines to guide you)
- 2. Do the same for number 2 which is the front part of the seat.
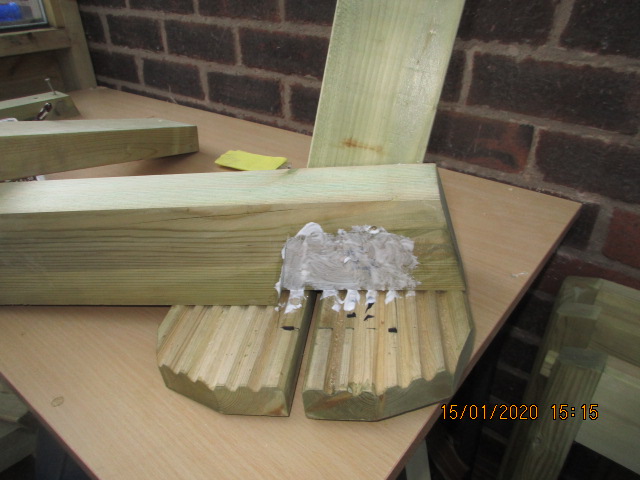
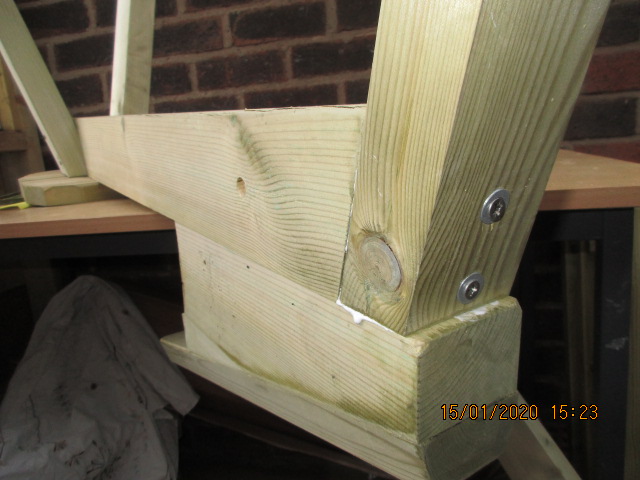
- 3. Place the body on a table seat side down. Put glue on the body where the pencil lines are around the number 3. line up the leg and screw in place using a big screw
- 4. Do the same for leg number 4.
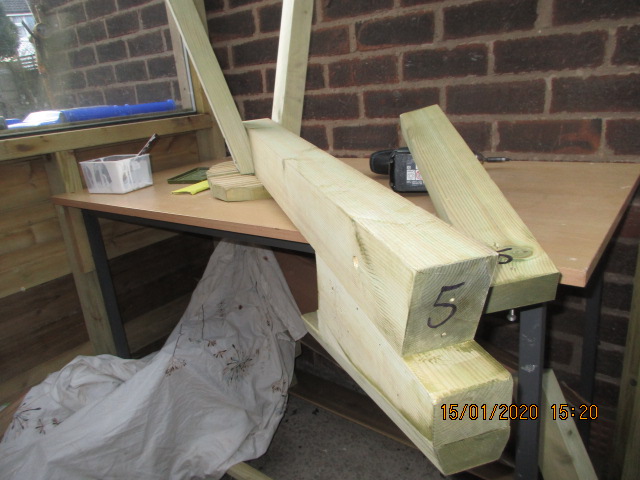
- 5. Do the same with number 5.
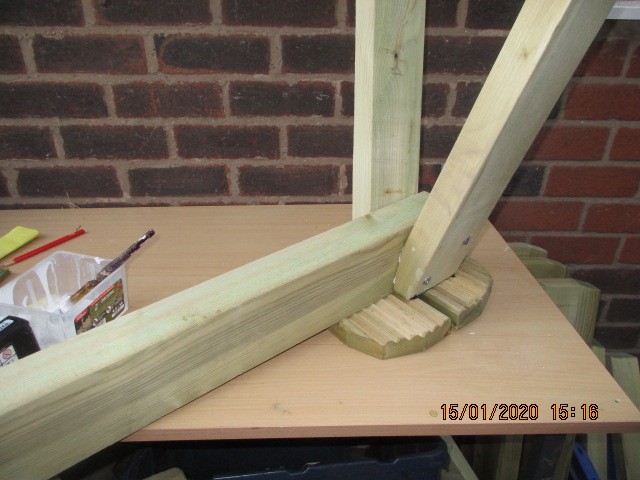
- 6. Turn it over and stand it up on its legs. Do not use glue. Line up part 6 with the 6 on the body, use two small screws (no washers) screw in place.
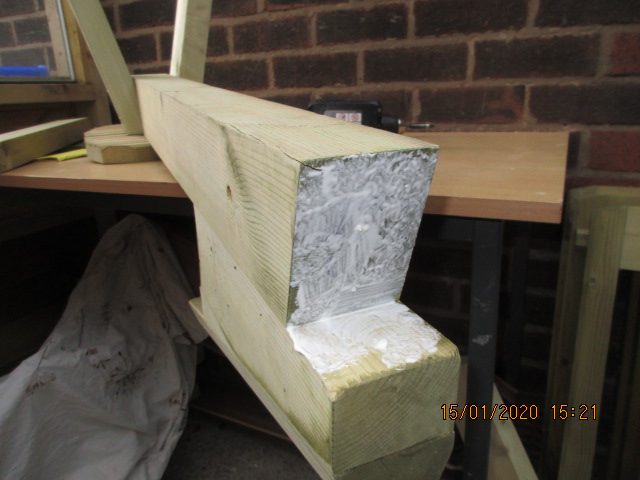
- .Put the vice over the front, line up the big hole, push the big bolt through, then put the washer and then the nut on and tighten.
- Do not sit on the shave horse for two hours to give the glue time to set.